Master Ready Or Not: Weapons, Armor & Tactical Control Guide
In the high-stakes, hyper-realistic world of Ready Or Not, success isn't just about sharp aim; it's about unparalleled tactical prowess, meticulous preparation, and seamless execution. As a strategic first-person shooter, Ready Or Not plunges players into the demanding role of a SWAT operator, tasked with defusing hostile situations in a modern, often unsettling, environment. From the choice of your primary weapon to the very plates protecting your vital organs, every decision profoundly impacts your mission's outcome. This comprehensive guide will dissect the critical elements of weapons, armor, and tactical control, equipping you to truly master the immersive and challenging Ready Or Not Gameplay: Unpacking Its Realistic Tactical FPS Elements.
The Arsenal of Authority: Navigating Ready Or Not's Weaponry
The vast array of firearms at your disposal in Ready Or Not is more than just cosmetic; each weapon category and its countless customization options serve a distinct tactical purpose. Mastering your loadout is fundamental to effective Ready Or Not Gameplay.
Weapon Categories & Their Tactical Roles
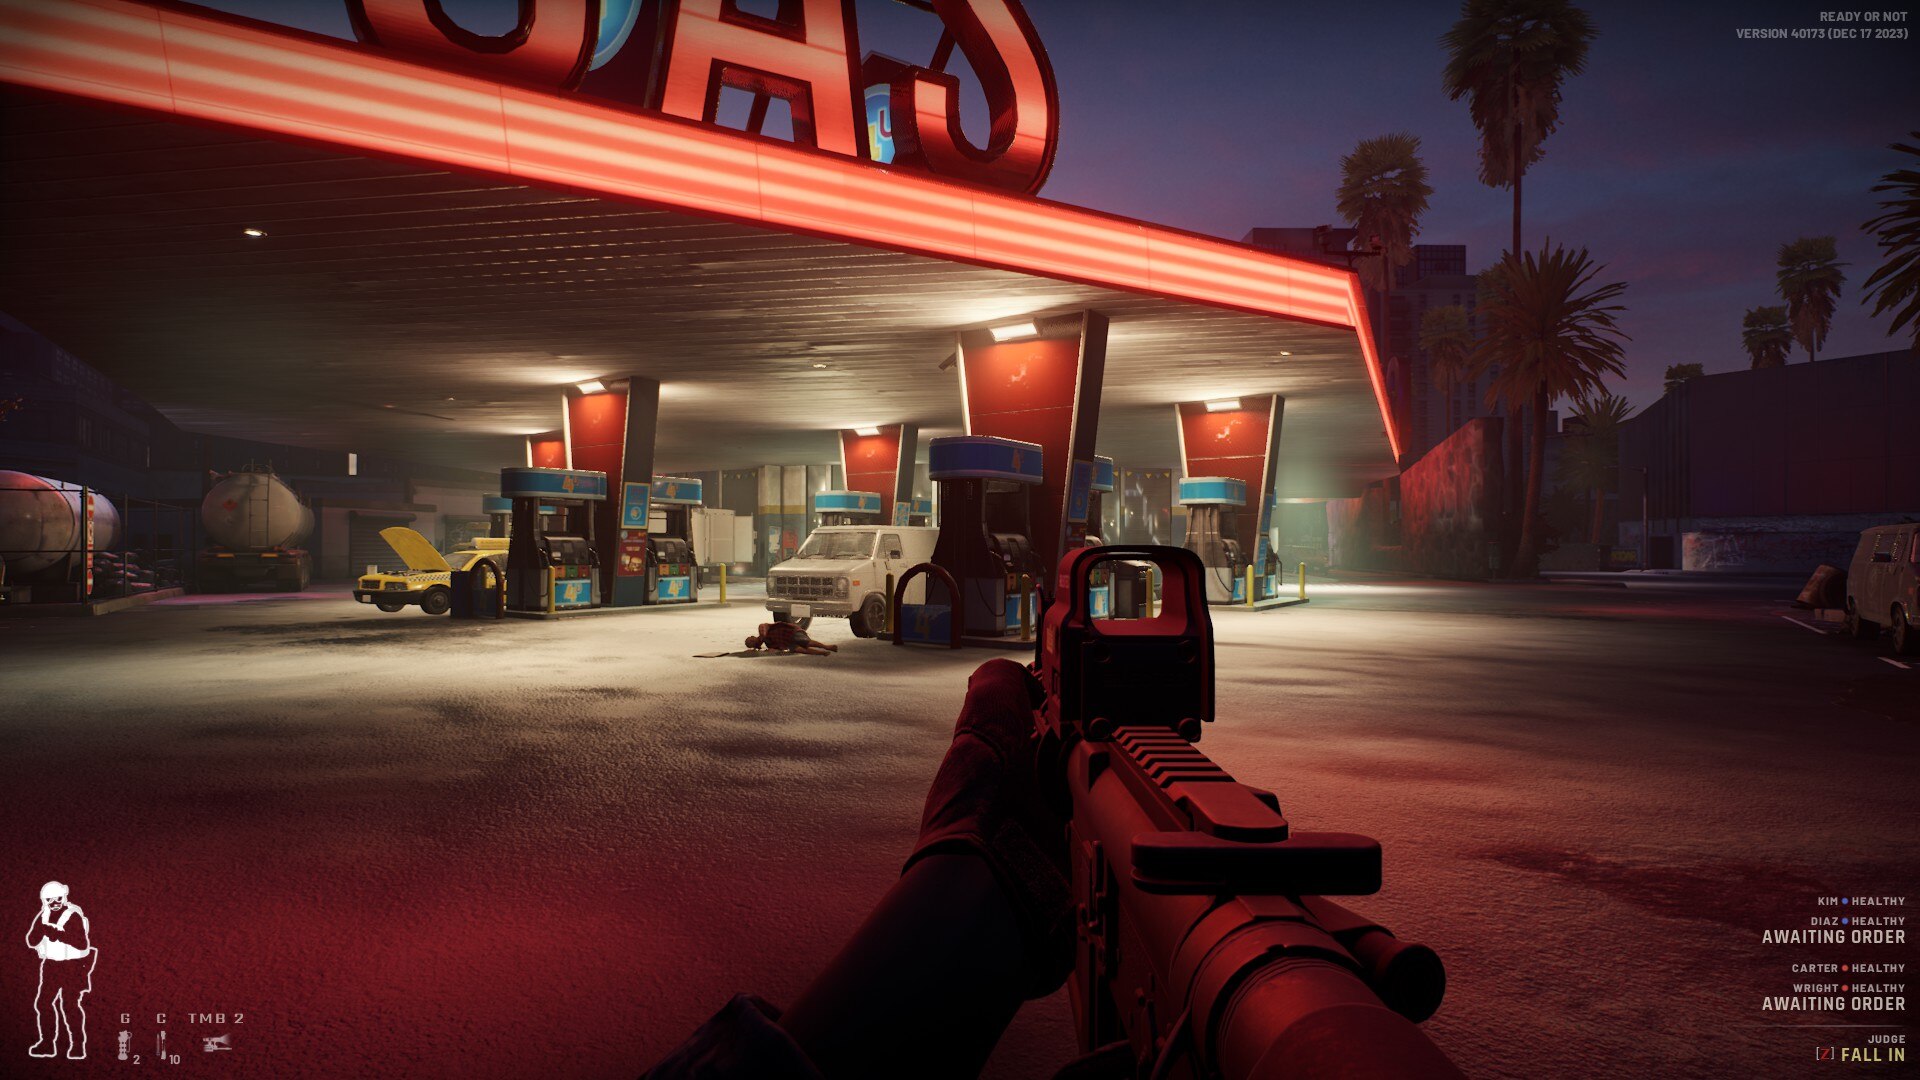
- Assault Rifles (ARs): These are your versatile workhorses, offering a balance of range, accuracy, and stopping power. Ideal for varied engagements, they excel in medium-range encounters but can be adapted for closer quarters with the right attachments. They are often favored for their adaptability across different mission types.
- Submachine Guns (SMGs): Light, compact, and with high rates of fire, SMGs are kings of Close Quarters Battle (CQB). Their lower recoil makes them manageable in tight corridors, though their effective range is significantly less than ARs. Perfect for rapid room clearing and maintaining mobility.
- Shotguns: Unmatched for breaching doors and devastating at extremely close ranges, shotguns bring raw power. Their limited capacity and slower reload times, however, demand careful tactical positioning and timing. They can be invaluable for area denial or quickly neutralizing immediate threats upon entry.
- Pistols: Your reliable secondary weapon, pistols are crucial for emergency situations when your primary weapon runs dry or for precise, less-lethal engagements. While less powerful, their compact size and quick draw time can be life-saving.
- Less-Lethal Options: Ready Or Not emphasizes de-escalation. Weapons like beanbag shotguns, tasers, and pepper spray launchers offer alternatives to lethal force, which is often crucial for achieving higher scores and minimizing civilian casualties in VOID Interactive's Vision: The Authenticity Behind Ready Or Not.
Customizing Your Firepower: Optics, Muzzle Devices, Grips, & Magazines
Beyond the base weapon, Ready Or Not offers a robust customization system that allows operators to fine-tune their firearms for specific tactical scenarios. These choices directly influence your effectiveness in any given Ready Or Not Gameplay encounter:
- Optics: From holographic sights for quick target acquisition in CQB to red dot sights for improved precision at range, optics dramatically improve your aim. Choose based on your intended engagement distance and personal preference.
- Muzzle Devices: Suppressors reduce muzzle flash and sound, aiding stealth and making you harder to pinpoint. Muzzle brakes and compensators, on the other hand, focus on reducing recoil, making follow-up shots faster and more accurate – a critical factor in high-stress firefights.
- Foregrips: Vertical, angled, or specialized grips alter your weapon's handling characteristics, primarily affecting recoil control and weapon sway. Experiment to find what best suits your recoil management style.
- Magazine Types: Different magazines offer trade-offs between capacity and reload speed, or even specialized rounds. Standard magazines are reliable, while extended magazines provide more rounds at the cost of slower reloads. Understanding these nuances can be the difference between clearing a room and being overwhelmed.
Practical Tip: Before each mission, consider the map layout and expected threats. Are you expecting long sightlines or tight corridors? Heavily armored suspects or agile targets? Tailor your weapon and attachments accordingly. A suppressed SMG with a holographic sight might be perfect for a stealthy raid on a small apartment, while an AR with a muzzle brake and an optic for longer engagements might be better suited for an open-plan office building.
Beyond the Bullet: Understanding Armor and Protection
In Ready Or Not, armor is not a simple health bar upgrade. It's a complex system that simulates real-world ballistic protection, requiring players to make strategic choices that balance survivability with mobility and tactical flexibility.
Armor Tiers and Their Trade-offs
The game features different levels of armor, each offering varying degrees of protection:
- Light Armor: Offers minimal ballistic protection but maximizes mobility. Operators wearing light armor can move faster, lean quicker, and often have more stamina for sustained operations. This is ideal for roles requiring high agility, such as reconnaissance or flanking maneuvers, where avoiding hits is prioritized over absorbing them.
- Heavy Armor: Provides significantly enhanced ballistic protection, capable of stopping more rounds and larger calibers. However, this comes at a substantial cost to mobility. Heavily armored operators are slower, more fatigued by movement, and louder, potentially giving away their position. This is best suited for point men or those expecting direct engagements and needing to withstand sustained fire.
Plate Elements and Ballistics: The Realism of Ready Or Not Gameplay
Ready Or Not takes ballistic simulation seriously. Your armor isn't a single hit point pool; it features specific plate elements:
- Plate Coverage: Your vest protects specific areas – front, back, and sometimes sides. Hits to unarmored areas (limbs, neck, head) are significantly more damaging, often fatal. This emphasizes precise shooting and tactical positioning.
- Ballistic Penetration: Different weapon calibers and ammunition types have varying penetration capabilities. A rifle round might punch straight through soft armor or even light plates, while a pistol round might be stopped more easily. Understanding this dynamic is crucial when engaging armored suspects.
- Kevlar and Plate Carriers: The game distinguishes between the soft Kevlar material (which offers protection against pistol rounds and fragmentation) and hard ceramic or steel plates (which stop rifle rounds). Your choice impacts the level of protection against different threats.
Practical Tip: Consider your role within the team. The point man might need heavy armor to absorb initial contact, while a support or rear-guard operator might opt for lighter armor to maintain maneuverability and react to unexpected threats. Always be mindful that even heavy armor has weak points, and a well-placed shot to an unarmored limb or head will often take you down instantly.
Masterful Movement and Tactical Control in Ready Or Not
Beyond gear, your ability to control your character and navigate the environment with precision is paramount. Ready Or Not’s organic control system and detailed movement mechanics are designed to give operators an unparalleled degree of situational effectiveness.
The Organic Control System: Precision at Your Fingertips
Void Interactive has implemented an intuitive control system that avoids unnecessary keybinds while offering deep tactical options. Key elements of effective movement and control include:
- Lean System: Crucial for peeking around corners without exposing your entire body. Utilizing lean effectively can give you a significant advantage in clearing rooms and engaging targets safely.
- Movement Speeds: The game features different movement speeds (walk, jog, sprint) and stances (stand, crouch, prone) that affect your accuracy, visibility, and noise level. Adapting your movement speed to the situation – slow and deliberate in unknown areas, faster when crossing danger zones – is vital.
- Door Interaction: Doors are not just obstacles; they are tactical tools. You can kick them open, breach them with C2, ram them, or cautiously peek through them. Each method has its own tactical implications, from speed of entry to noise generated.
Teamwork and Communication: The Core of Ready Or Not Gameplay
Whether playing with AI or human teammates, communication and coordination are the bedrock of successful operations. The AI teammates are surprisingly capable, responding to clear commands:
- Stack Up: Positioning teammates at a door or entry point.
- Breach & Clear: Ordering your team to open a door and sweep the room.
- Cover: Assigning teammates to watch specific angles.
- Mirror: Using a mirror gun to scout ahead without exposing yourself.
Practical Tip: Always think a step ahead. Before breaching, plan your entry points, assign sectors of fire, and communicate potential threats. Use flashbangs or stingers to disorient suspects before entry, giving your team a critical advantage. Effective communication ensures that everyone is on the same page, minimizing friendly fire and maximizing efficiency.
Adapting to the Uncomfortable Realities of Ready Or Not Gameplay
Ready Or Not is not just a game; it's a reflection of uncomfortable real-world scenarios. The developers, Void Interactive, have gone to great lengths to ensure a level of authenticity and credibility, collaborating with police forces worldwide to craft realistic rules of engagement and scoring systems. This commitment to realism permeates every aspect of Ready Or Not Gameplay.
The Weight of Authenticity
The game tackles sensitive themes, portraying situations that echo real-life tragedies. This isn't for shock value but to foster a deeper understanding and respect for the challenging work of first responders. This realism elevates the stakes for the player: every bullet counts, every civilian life is sacred, and every decision carries significant weight. Your mastery of weapons, armor, and tactical control isn't just about winning; it's about upholding the duty to bring order to chaos with precision and responsibility.
Conclusion
Mastering Ready Or Not is a journey of continuous learning and adaptation. By deeply understanding the intricacies of its weapon systems and customization, making informed choices about armor, and fluidly controlling your operator with tactical precision, you transform from a mere shooter into a true strategic asset. The immersive and challenging Ready Or Not Gameplay demands patience, critical thinking, and disciplined execution. Embrace these elements, and you'll not only survive but thrive in the high-pressure world of tactical law enforcement, bringing order to the most disturbing situations.